Creating a Mailbox
Creating a New Mailbox for Your Domain
Note: When ordering a mailbox for domains that are not using Joker.com nameservice, you need to make sure that you add the necessary DNS record to your nameservers. Those records are shown below, and also when you create your mailbox.
Add a mailbox to your domain in a few easy steps:
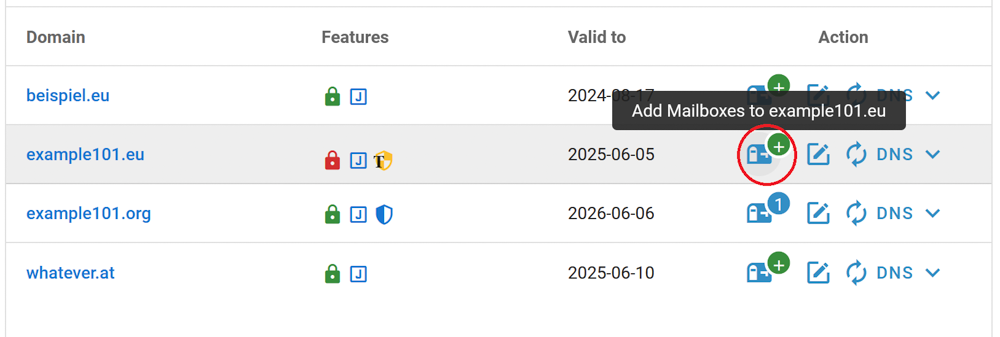
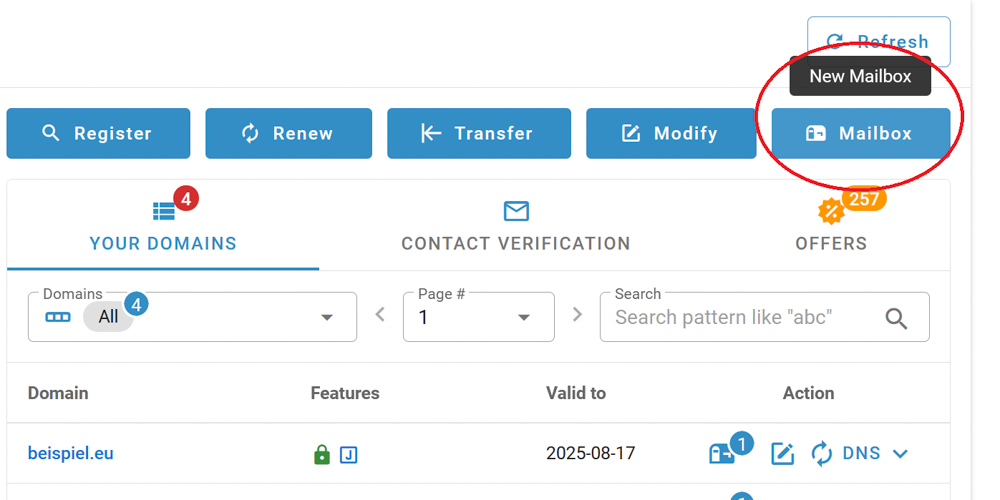
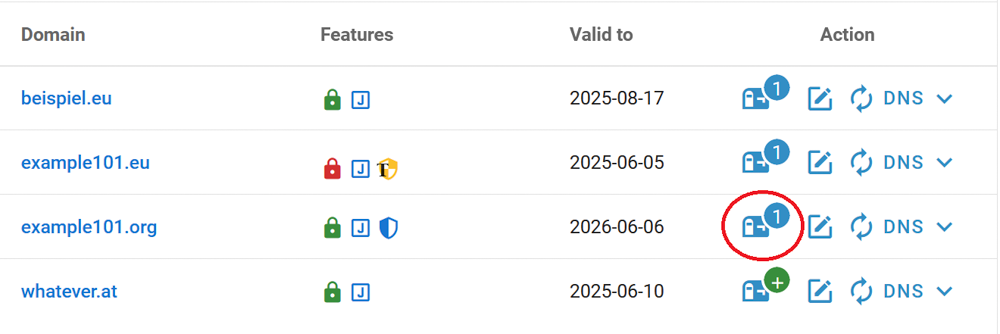
1. Click on the mailbox icon next to the domain name or choose "Mailbox" in the top menu:
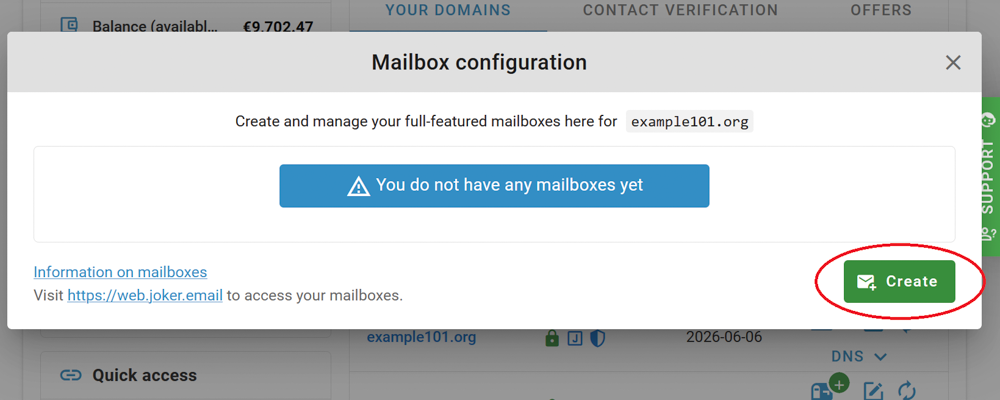
2. On the next screen, click "Create":
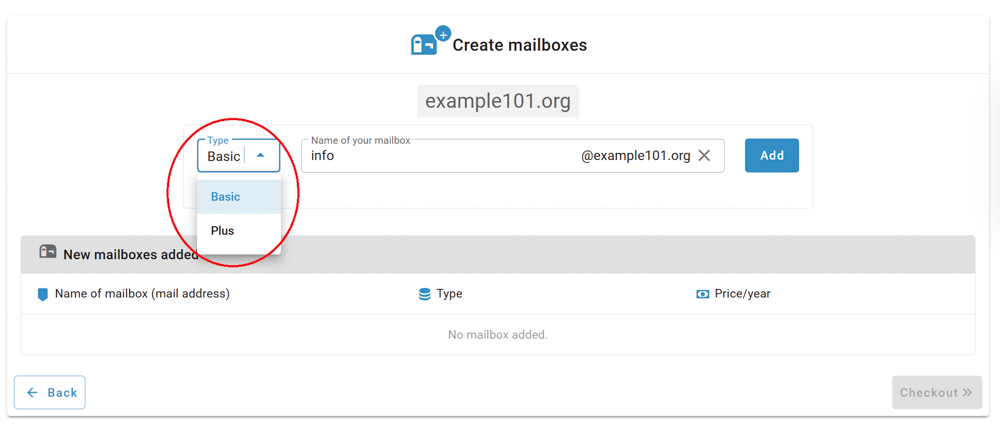
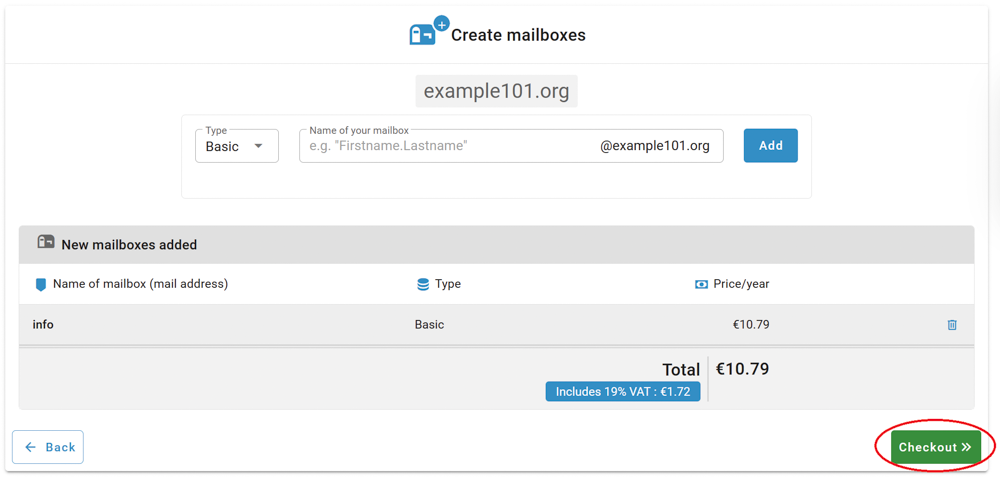
3. Choose the subscription plan, create a name for your mailbox and click "Add":
4. Check it, click "Checkout":
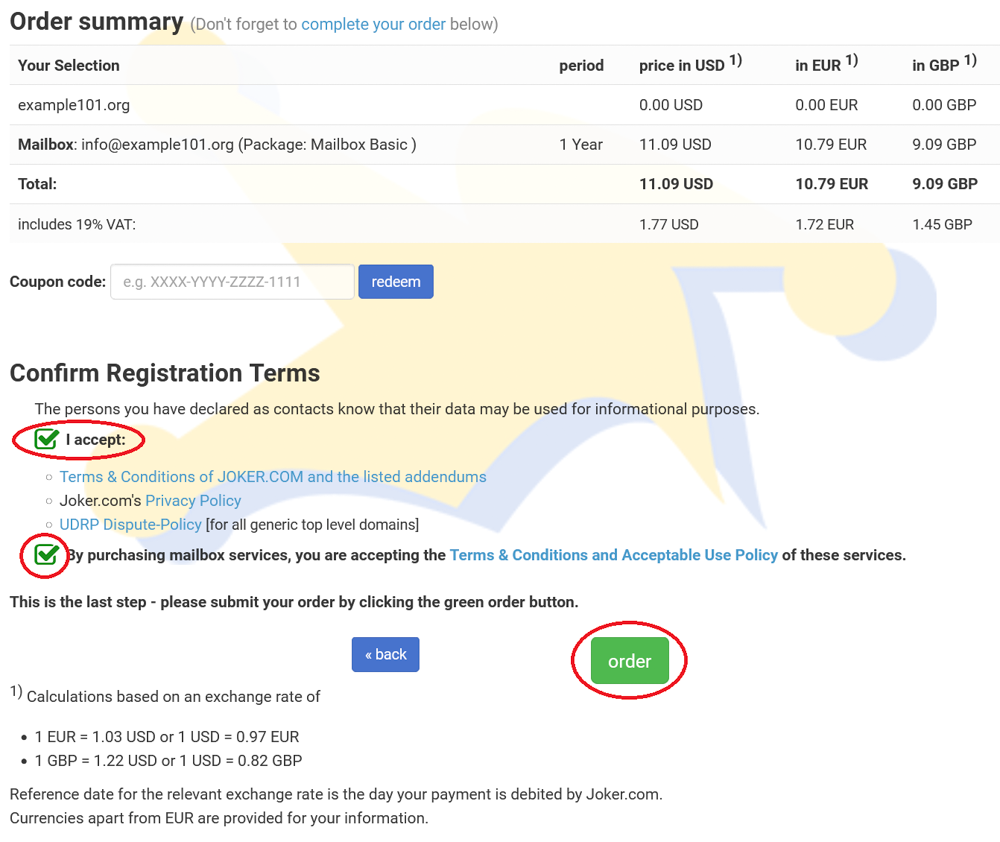
5. Check your order carefully, accept T&C and click "Order":
6. You are done! In a few moments, a successfully created mailbox will appear on your dashboard:
Please note: the lifetime of the mailbox is bound to the domain term. If the domain term is less than one year, you will not receive a full mailbox year. To receive the full mailbox term, we recommend renewing the domain before ordering the mailbox!
Nameserver Records
We automatically add the entries required for your mailbox to the name server (in case the domain uses Joker.com nameservice). This also applies to SPF and DKIM.
You will only be notified if you have already made your own entries at this point – see also below.
Migrating an Existing Mailbox to Joker.com
If your domain already has existing MX records or email forwards ('email addresses'), you will see a warning message when creating a mailbox. We have designed the system in such a way that no changes are forced or made automatically, but you are shown the necessary changes. In this way, we want to ensure that no other existing e-mail services are unintentionally disrupted.
However, the mailbox will still be created. if you continue your order. To ensure your email works correctly, you’ll need to update the MX record manually later, resp. you need to remove the existing email forwards. Both can be done using the DNS-Editor in the Dashboard.
The records shown below are also needed in case you created mailboxes for domains which do use your own external nameservice.
The MX record you need to add is:
MX 10 smtp.joker.email
Also, a SPF record should be added if not yet existing, or extended if you already have one:
SPF does exist: Please add "include:_spf.joker.email"
SPF does not yet exist: Please add TXT record with "v=spf1 include:_spf.joker.email -all"
We also recommend using DKIM. To do this, simply add these two CNAME records:
jokermail1._domainkey.Your-Domain CNAME jokermail1._domainkey.joker.email
jokermail2._domainkey.Your-Domain CNAME jokermail2._domainkey.joker.email
Note: To conveniently transfer all emails from the old mailbox to your new one, you can simply drag and drop the folders from the old mailbox to the new one using the mail program ‘Thunderbird’, for example - where you have set up mailboxes.